Setup User Logins
Citrus Accounting Guide

Carlito
Last Update 3 years ago
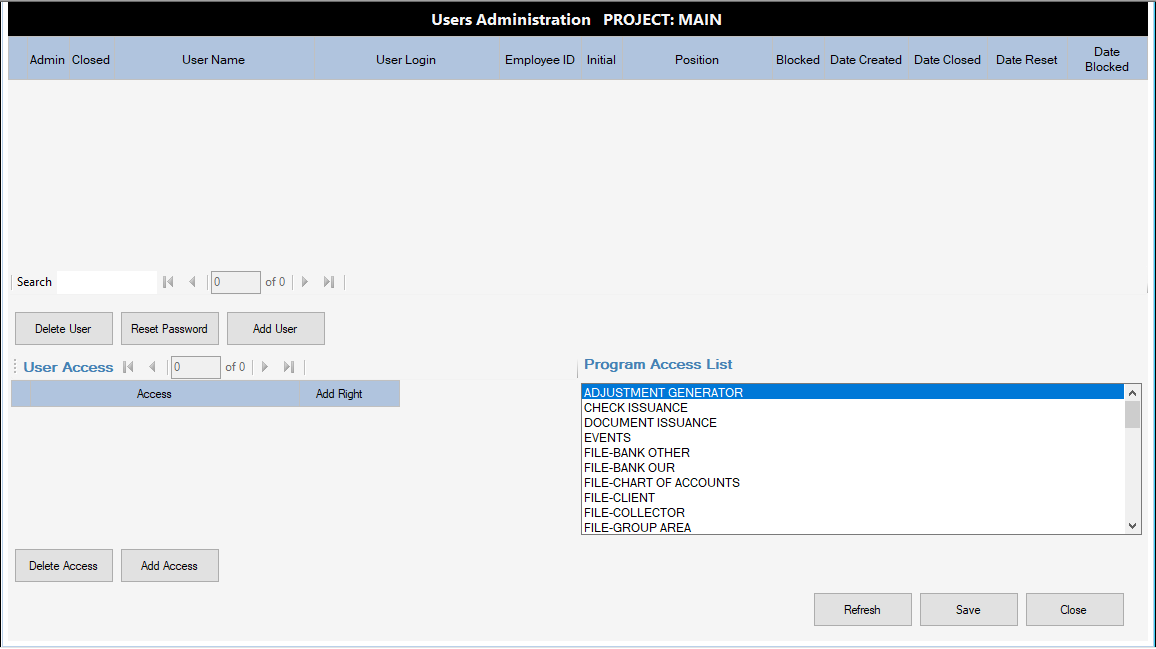
Users Administration
- Run Citrus Accounting Application
- Login with Username = admin and Password = admin
- Click Setup menu >> Users Administration menu
- Users Administration window appears
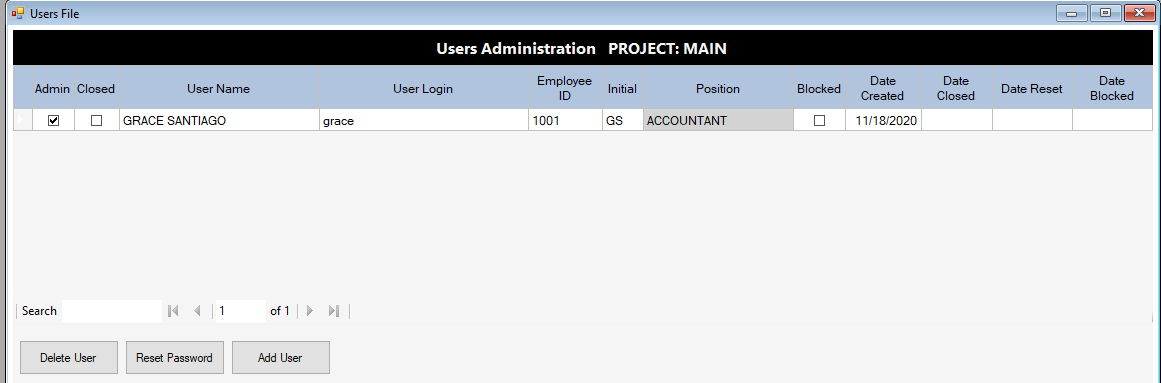
Add New User Login with Admin Access
- Click Add User button
- Click on User Name column and enter the User's name then press Enter key and Right arrow key to move to the next column
- On the User Login column, enter the login id (one word, no spaces) then press Enter key and Right arrow key
- On the Employee ID column, enter the ID No. of your staff, then press Enter key and Right arrow key
- On the Initial column, enter the User's Initials (up to 3 letters), then press Enter key and Right arrow key
- On the Position column, enter the position of the user in your office, then press Enter key
- On the dialog, Set the User as an SUPERVISOR?, click Yes button to grant this User an Admin access right.
- Note: The New User Login will have a Default Password = 1234
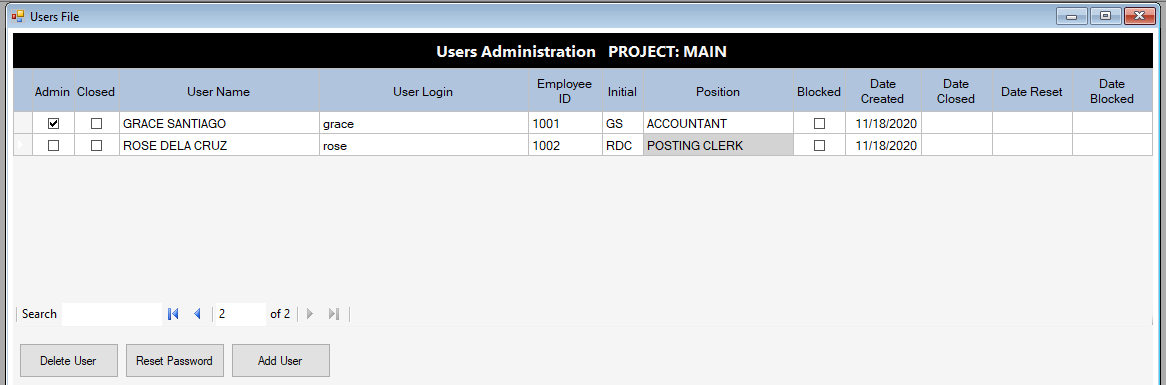
Add New Normal User Login
- Click Add User button
- Click on User Name column and enter the User's name then press Enter key and Right arrow key to move to the next column
- On the User Login column, enter the login id (one word, no spaces) then press Enter key and Right arrow key
- On the Employee ID column, enter the ID No. of your staff, then press Enter key and Right arrow key
- On the Initial column, enter the User's Initials (up to 3 letters), then press Enter key and Right arrow key
- On the Position column, enter the position of the user in your office, then press Enter key
- On the dialog, Set the User as an SUPERVISOR?, click No button to set this User as a Normal User.
- On the dialog, User has access to Data Extractor?, click No button
- Note: The New User Login will have a Default Password = 1234
Grant Access Rights to Normal User Login
- On the Program Access List, click one access item to select it
- On the User Access, click the Add Access button to add the access item to the table. Repeat this to keep adding access items of your choice.
- Your User Access table will look like the image below

Delete Access Rights of User
- On the User Access, click an access item you want to remove
- Click on Delete Access button to remove the item
Save the User Login Records
- Click the Save button to save your added users and changes
Reload the User Logins Records
- Click the Refresh button to reload the User Logins records
Close the Users Administration Window
- Click Close button to exit this window